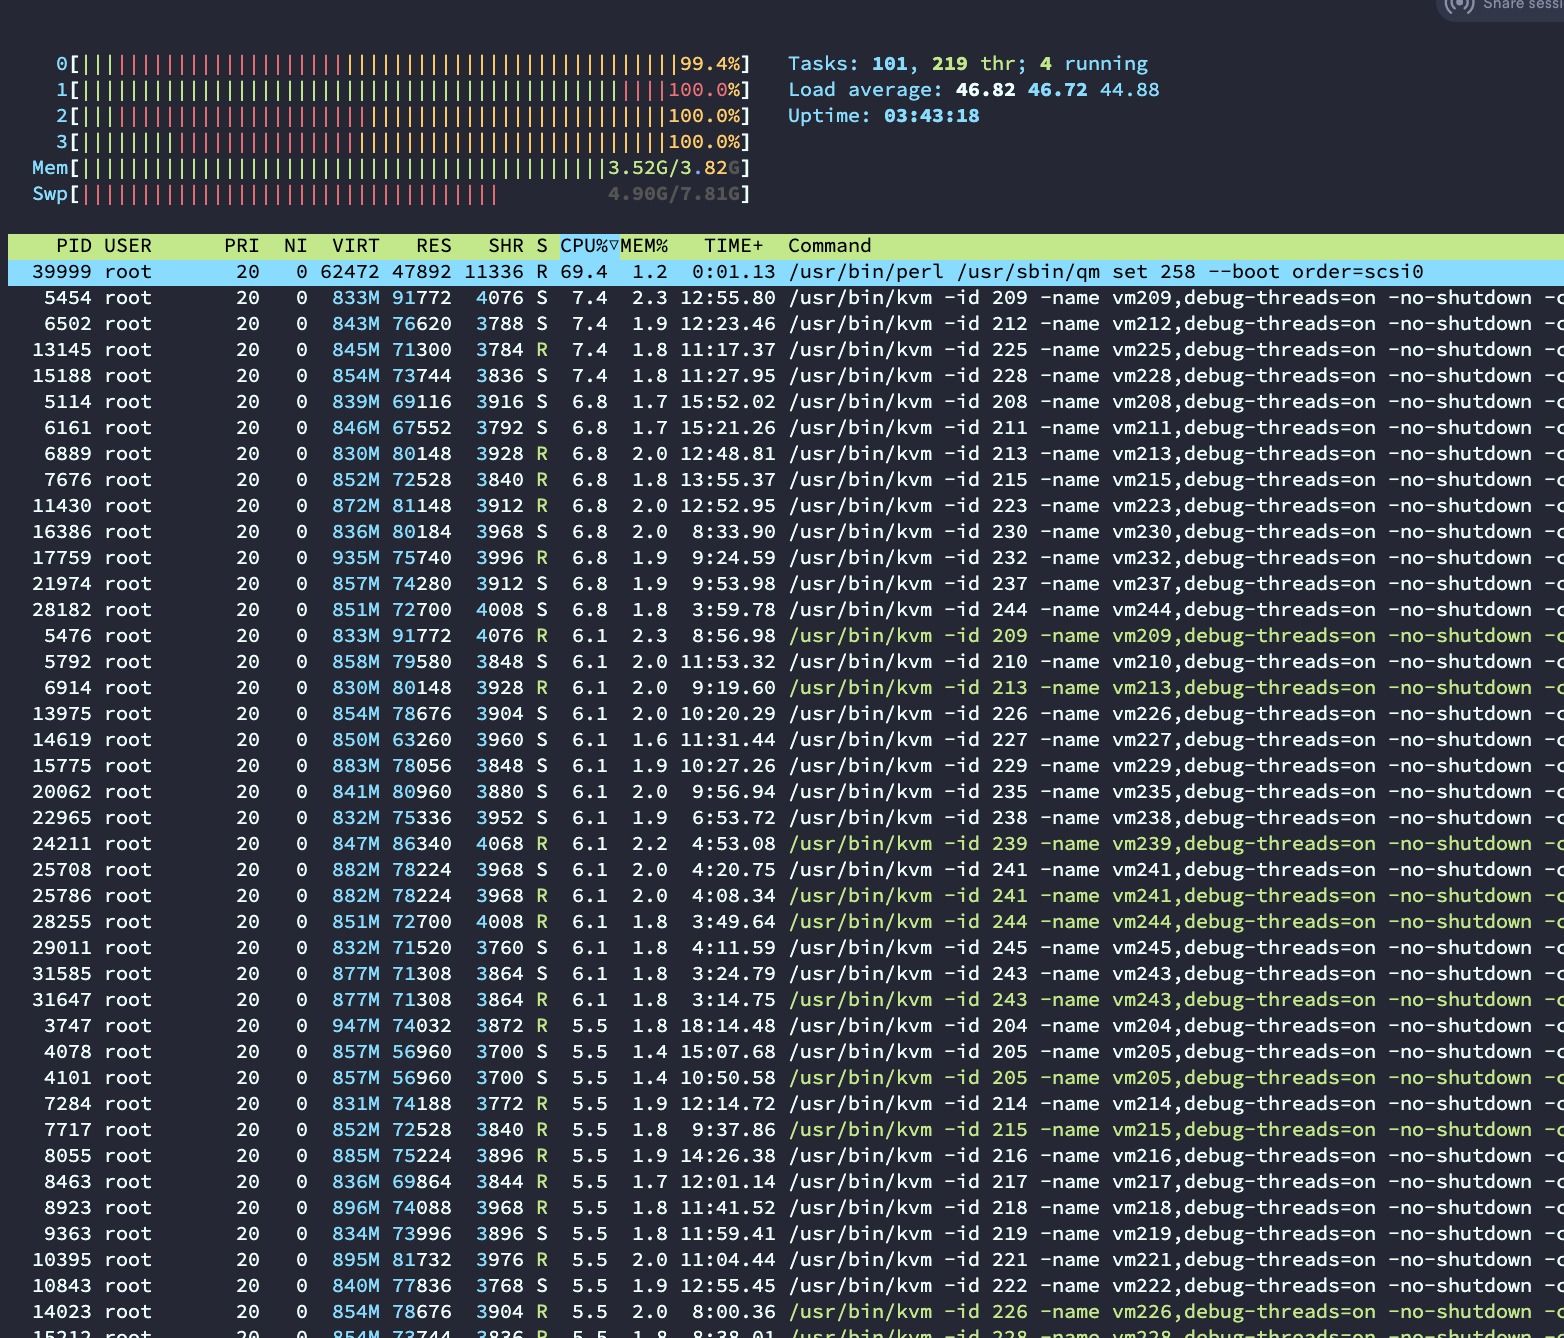
初始状态:

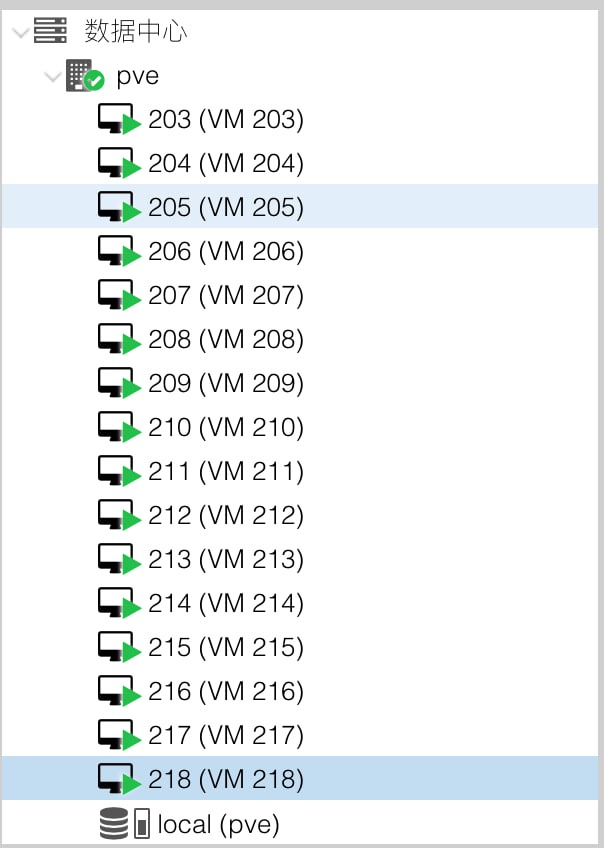
最终状态:


- 系统要求:Debian 8+(建议debian11而不是debian12,因为晚上是beta版本,debian11安装的才是稳定版本)
- 硬件要求:2核2G内存x86_64架构服务器硬盘至少20G
- 可开KVM的硬件要求:VM-X或AMD-V支持(部分VPS和全部独服支持)
- 如果硬件或系统需求不能满足,可使用LXD批量开LXC容器
第一步:检测环境
bash <(wget -qO- --no-check-certificate https://raw.githubusercontent.com/spiritLHLS/pve/main/scripts/check_kernal.sh)
- 检查是否符合安装PVE的要求,不符合则无法使用后续的脚本
- 检测硬件配置是否满足最低要求
- 检测硬件环境是否可撤销虚拟化KVM类型的服务器
- 检测系统环境是否可访问虚拟化KVM类型的服务器
- 不可请求虚拟化KVM类型的服务器也可以开LXC虚拟化的服务器,但不推荐安装PVE,不如使用LXD

第二步:占用虚拟内存
curl -L https://raw.githubusercontent.com/spiritLHLS/addswap/main/addswap.sh -o addswap.sh && chmod +x addswap.sh && bash addswap.sh
建议添加虚拟内存为内存的2倍
第三步:安装PVE
curl -L https://raw.githubusercontent.com/spiritLHLS/pve/main/scripts/install_pve.sh -o install_pve.sh && chmod +x install_pve.sh && bash install_pve.sh
安装后执行sudo reboot重新启动系统
使用SSH登录后,等待至少20秒再次执行脚本
curl -L https://raw.githubusercontent.com/spiritLHLS/pve/main/scripts/install_pve.sh -o install_pve.sh && chmod +x install_pve.sh && bash install_pve.sh
安装后即可打开HTTPS网页
用户名、密码就是服务器所使用的用户名、密码(如root和root用户的密码)
第四步:配置环境
bash <(wget -qO- --no-check-certificate https://raw.githubusercontent.com/spiritLHLS/pve/main/scripts/build_backend.sh)

sudo reboot

bash <(wget -qO- --no-check-certificate https://raw.githubusercontent.com/spiritLHLS/pve/main/scripts/build_nat_network.sh)
第五步:一只生小鸡
curl -L https://raw.githubusercontent.com/spiritLHLS/pve/main/scripts/create_vm.sh -o create_vm.sh && chmod +x create_vm.sh && bash create_vm.sh
致谢官方教程:https://virt.spiritlhl.net/
 glzjin's blog
文章评论